We recently relaunched WP Sent Mail , and as part of that we setup a post-purchase MailChimp Automation that reaches out to new users a few days after their purchase.
As part of this, we included a simple Yes or No survey that asks the new user if they like WP Sent Mail. If they click “Yes”, they are invited to join our affiliate program. If they click “No”, we invite them to share their feedback.
The good news is that this is totally possible with MailChimp. The bad news is that it’s not exactly self-explanatory to setup. So we’re going to show you exactly how we did it.
Step 1: Adding a user to an automation with a link.
For this step, we’re going to assume you already have at least one automation setup and you want to add a link to one of the automation emails that adds the user to another automation.
It’s important to note that this technique will work in any email, not just an automation. But that’s where it is probably most useful.
MailChimp provides a shortcode / merge tag that can add a user to a specific automation. It looks like this:
*|AUTOMATION:WORKFLOWADDURL(campaign_id)|*
MailChimp has an article about how this works that you can read here.
To use the merge tag, you need to find the ID of your automation. This is visible in the address bar when editing an automation:
So, for our example, our merge tag would look like this:
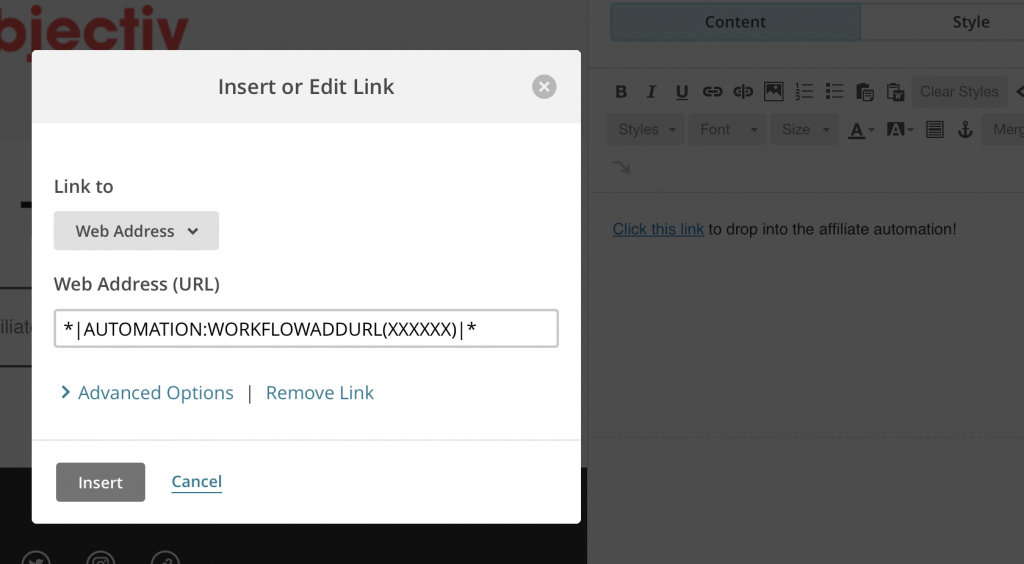
*|AUTOMATION:WORKFLOWADDURL(XXXXXXXX)|*
To use it, you just insert that text into the URL field when creating an link in the email designer:
Pretty simple!
Step 2: Design the Automation Landing Page
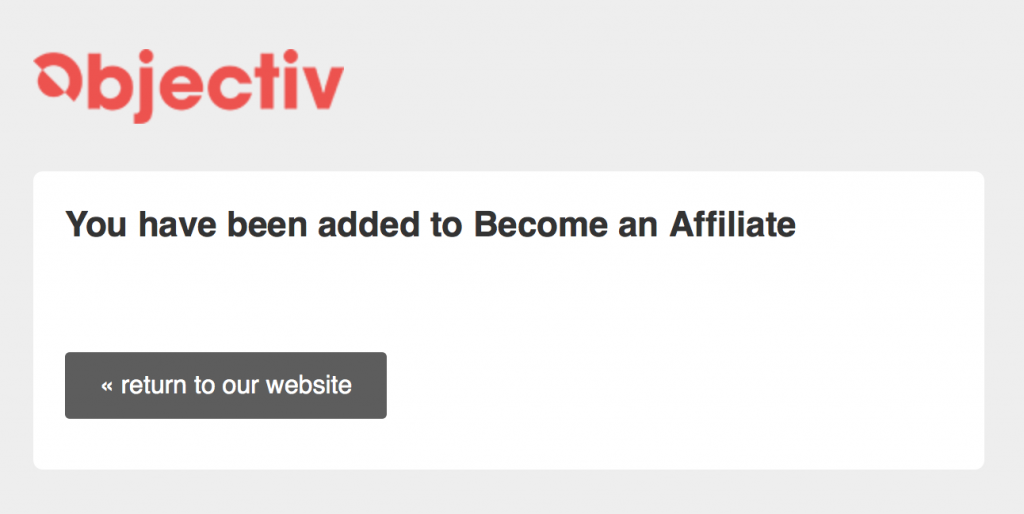
By default, when a user clicks the link they see something like this:
Not great. This really slaps people in the face with the fact that you are using email automation, and worse, tells them exactly what happens next.
Unfortunately, MailChimp doesn’t provide a way to modify the text of this landing page. But there is a nice workaround.
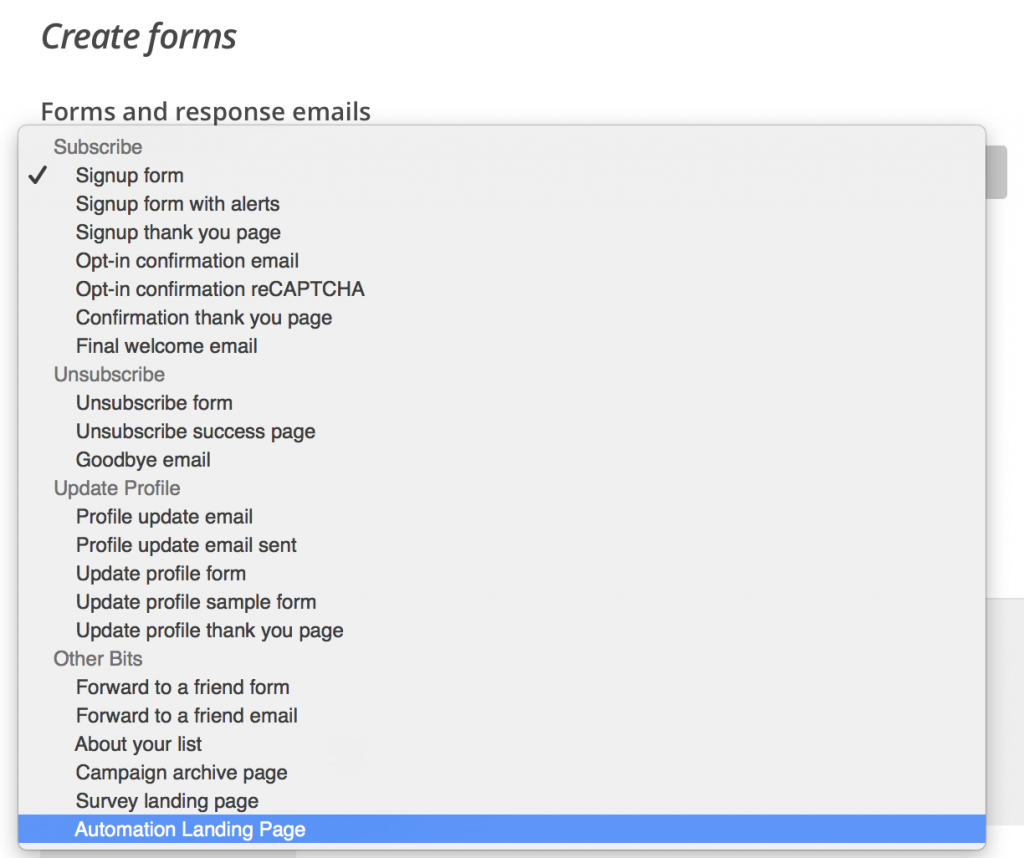
First, go to your list and click “Signup Forms” and then “General forms”. From the dropdown select “Automation Landing Page”. It looks like this:
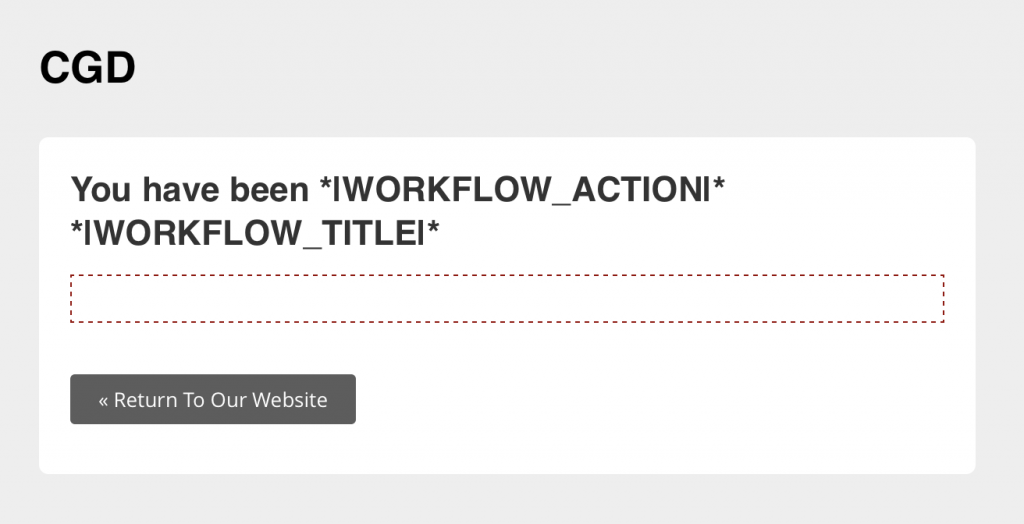
By default, you’ll see a form that looks like this:
It’s easy to replace the header with an image, but modifying the text turns out to be /impossible/. This is hard coded by MailChimp.
But there is a workaround. You can make the text invisible by styling it to be all white. To do this, select the “Design It” tab, then “Body”, and then “Default Text”. Change the font color to #ffffff (white):
Looks better, but not great. The next step is to click the “edit” button on the dashed box in the screenshot above. This will allow you to insert your own text.
The only key here is that you have to explicitly set this text to black, using their WYSIWYG or the text will also be white and invisible.
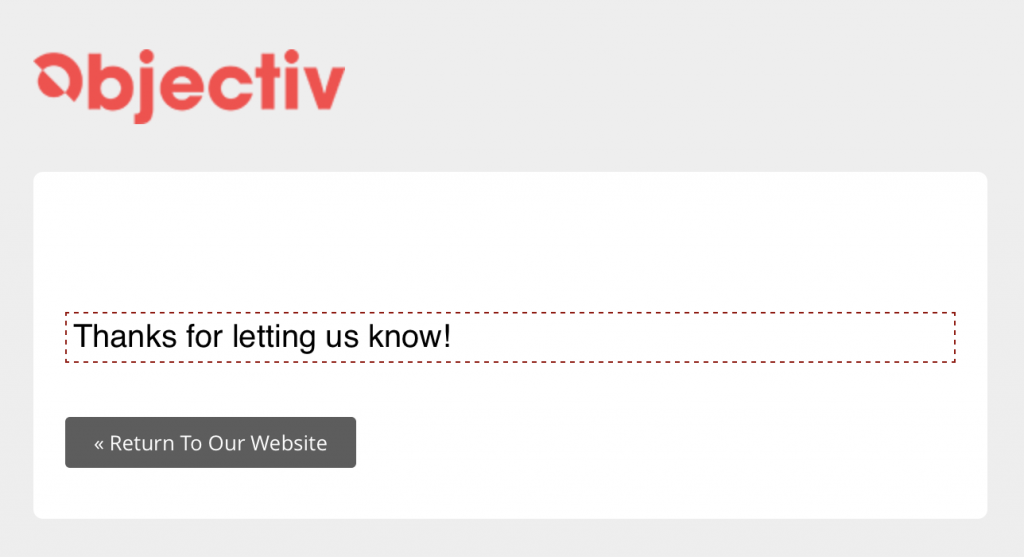
We set ours to look like this:
Not bad! That’s about it.
If you master this strategy, there are really a bunch of things you can do with automations in MailChimp. And make sure you check out their KB , as there are other things you can do such as removing someone from an automation.
Let us know if you have any questions in the comments below.

