When it comes to SEO, most people know that external links are a major boost to SEO, but many people don’t realize internal links are also important .
Internal links help Google find your content, as well as spread what SEOs call “link juice”.
What is link juice?
When an external site with good rank links to your site, this is a signal to Google that your page is relevant and increases your authority. The higher ranking site effectively transfers “link juice” to your page.
So, by properly linking to your other content with internal links on your own site, you are doing the same thing to a lesser extent.
As an example, say you have a page that ranks very well in Google for a specific term. To properly leverage your rank, you would want to link that page to other related pages. This will help those pages potentially increase in their rank.
How does a content library help?
Keeping track of all of your blog posts and what you’ve previously written about is a pain, even when you have a small content library.
One way to reduce the hassle and make sure you aren’t forgetting about important content is to create a spreadsheet that lists all of your blog posts.
Whenever you publish a new post, you can skim this library to see if there are related topics you have covered that might make sense to link to (or from).
This is especially true when you’ve written about the same topic multiple times.
But rather than manually keep a list up-to-date, there’s an easier way. You can automate your content library with WordPress, Zapier, and Google Sheets so that whenever you publish a new post it’s automatically added to a spreadsheet on Google Sheets.
Automating your Content Library
The first step is to signup for a Zapier account. You can get pretty far on the free plan, and WordPress and Google Sheets are both supported applications.
Step 1: Create a new zap.
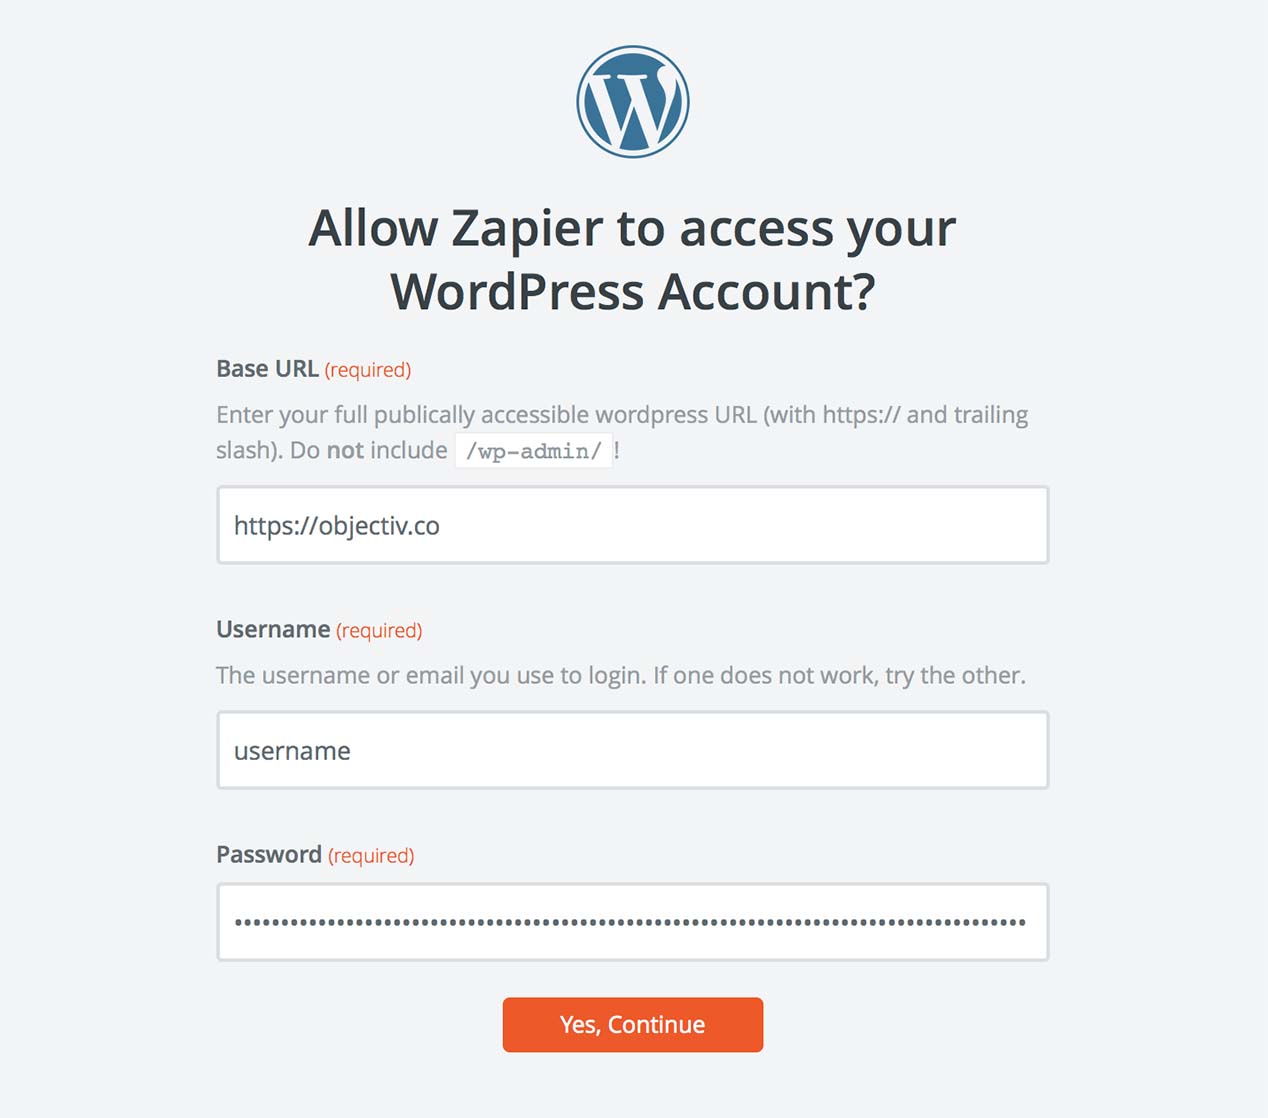
Once you’ve signed up for Zapier, click “Make A Zap” and search the app list for WordPress.
Click “Connect a New Account” and fill in your information according to the instructions.
Step 2: Setup WordPress trigger.
Once your Zap is connected to your WordPress site, you’ll want to select the triggering action. You should select “New Post”.
On the next screen, you’ll want to select what are essentially filters: Post Status and Post Type
In most cases, you’ll want to select “Publish” as the status and “Posts” as the type.
Step 3: Create a new Google Sheet
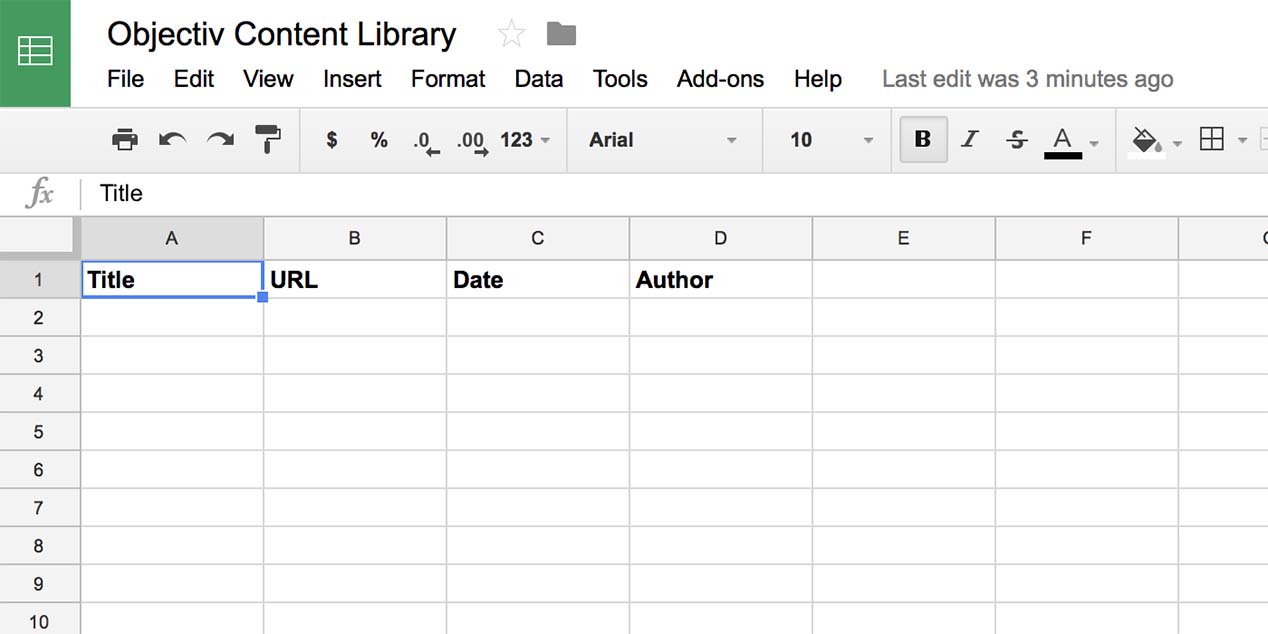
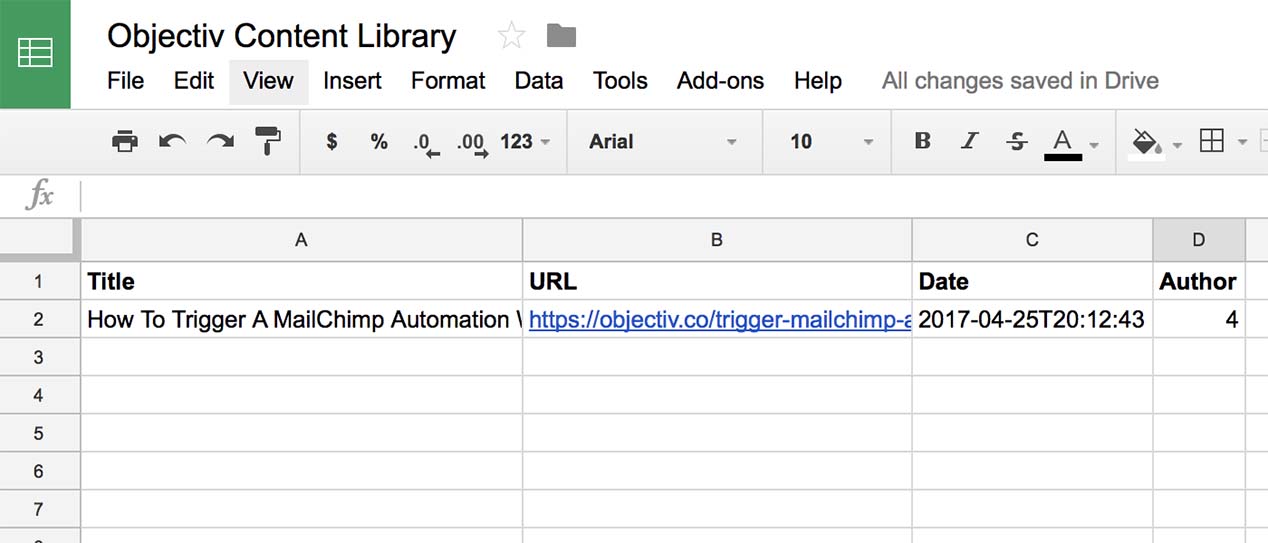
In order to continue, you’ll need to create a new Google Sheet. We named ours “Objectiv Content Library”.
You should create header columns for each of the fields you want to capture. We recommend:
* Title
* URL
* Date
* Author
Step 4: Add New Rows in Zapier
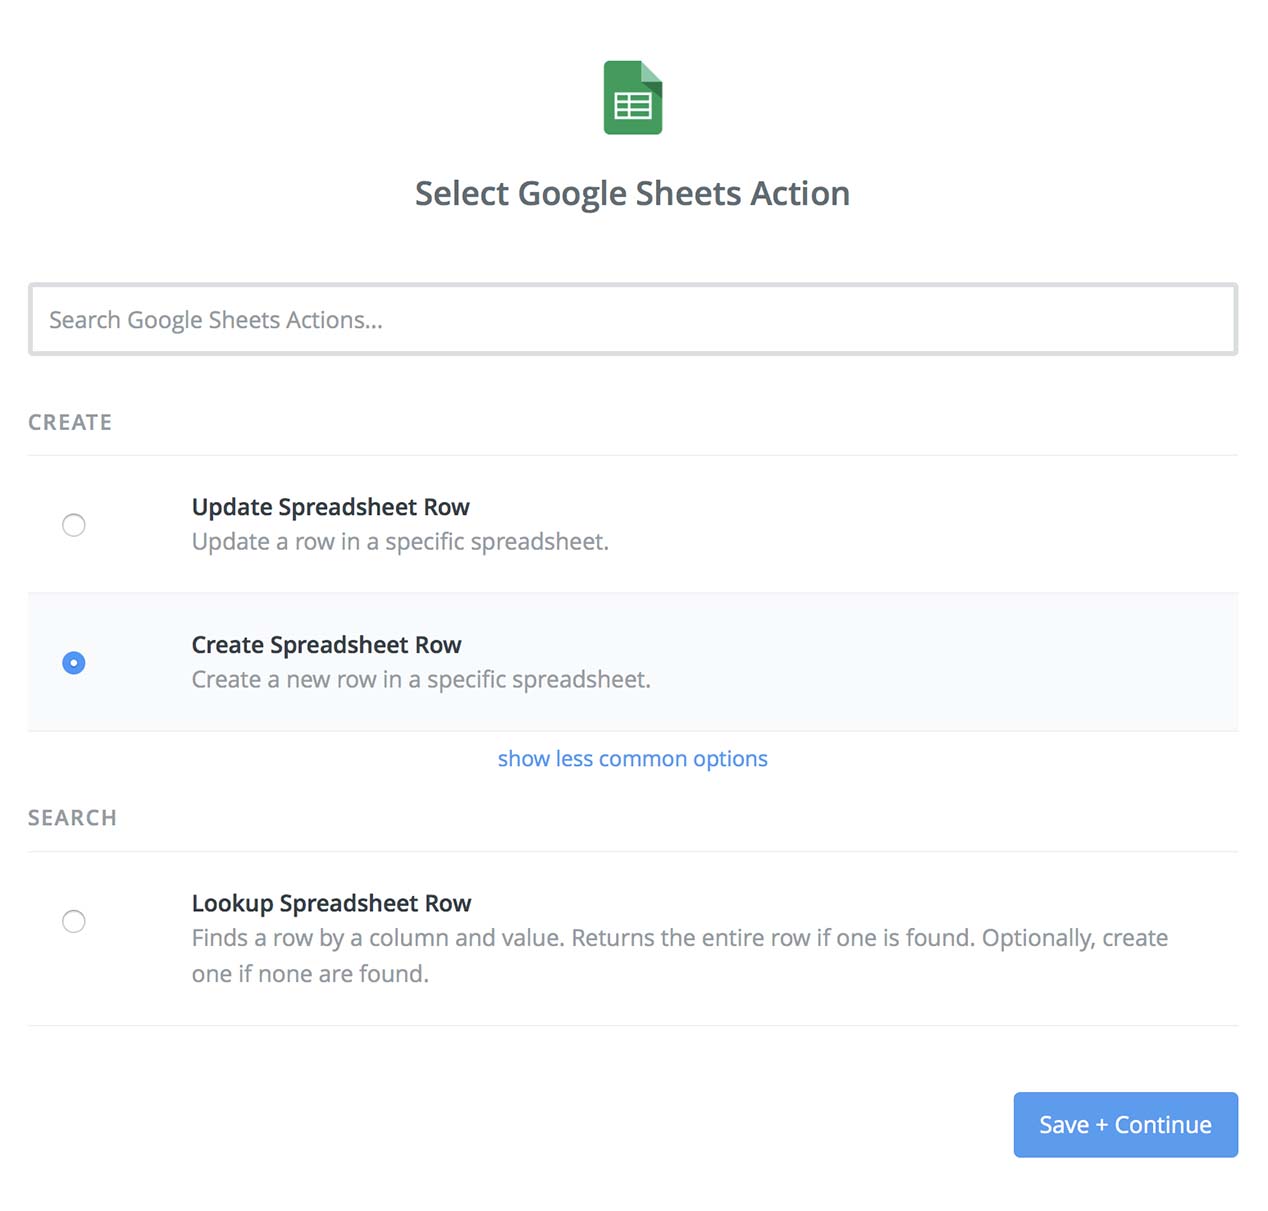
Once you’ve returned to Zapier, it’s time to setup your action app. Search for “Google Sheets” in the app list and connect with the same Google account you used to create your sheet.
When asked for an action, choose “Create Spreadsheet Row”.
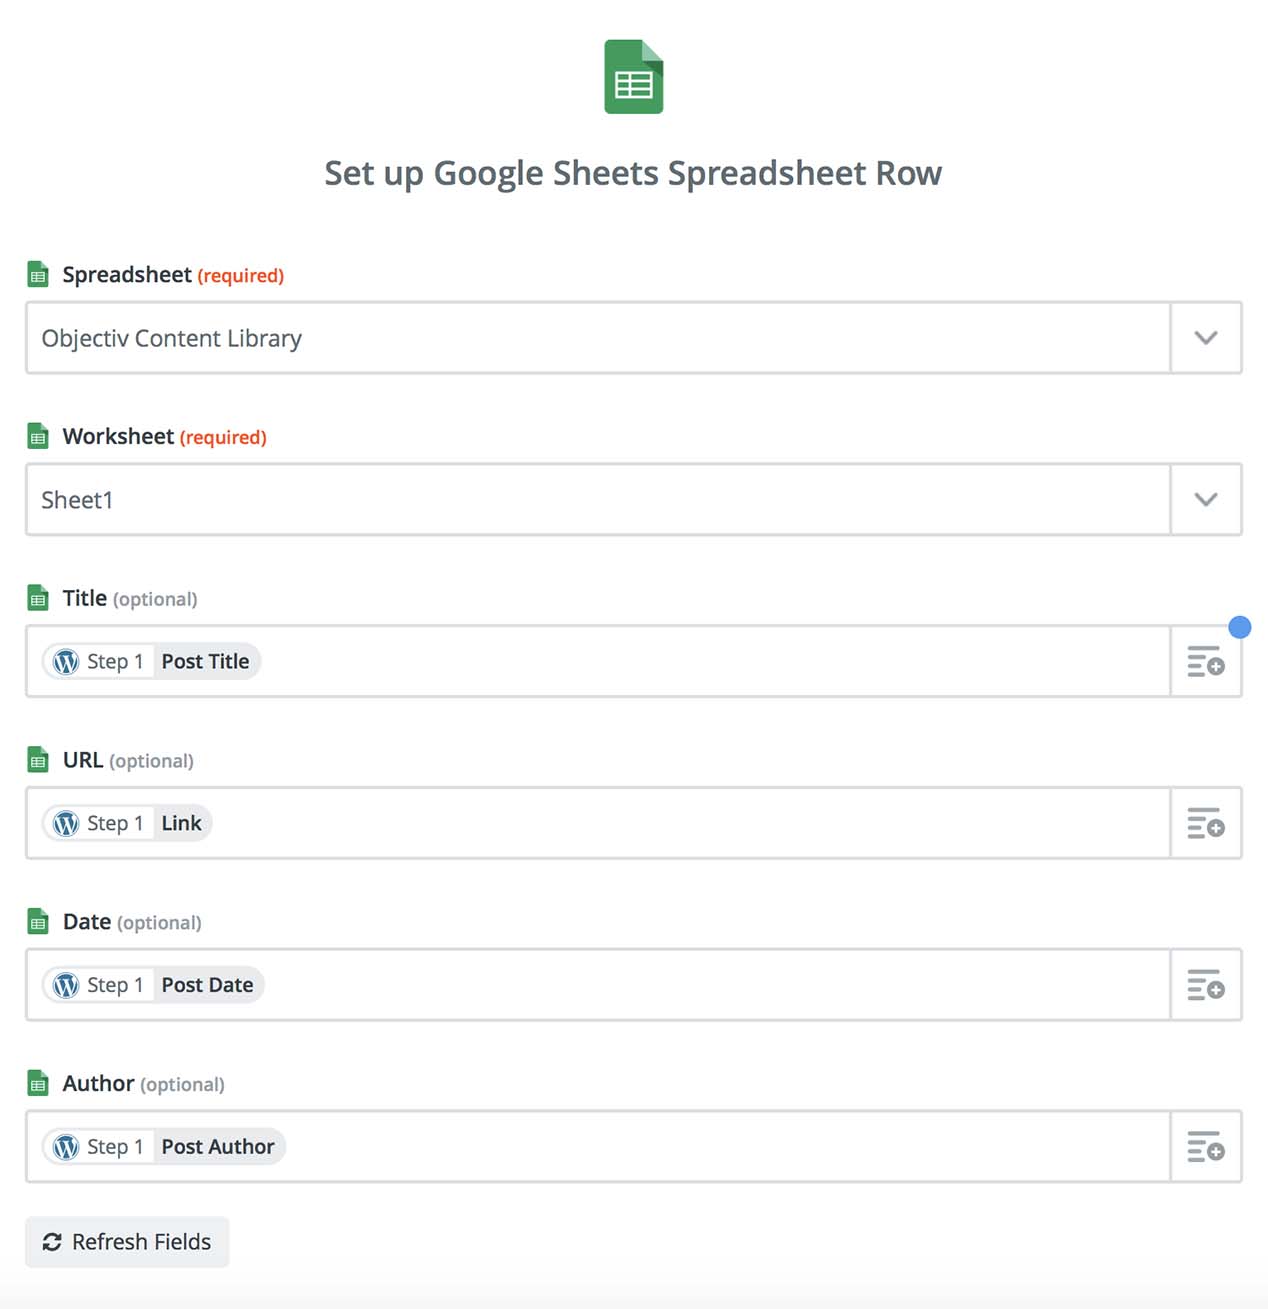
On the next screen, you’ll set values for each of the columns on the new spreadsheet row. You’ll want to map each of the WordPress post properties to the correct column.
We configured ours like this:
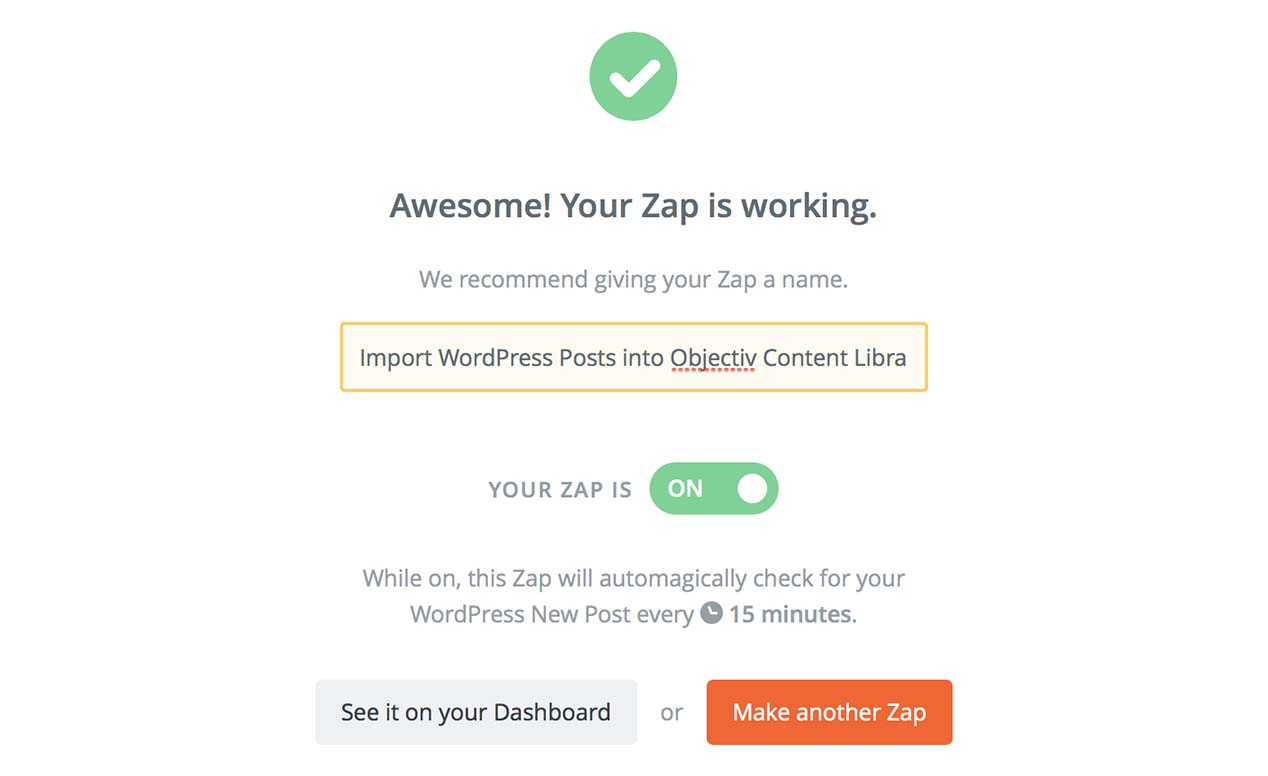
You will be given the opportunity to test your new zap. If it is successful, it will look something like this:
Step 5: Name and Activate Your Zap
Now you’re done!
Name your zap something descriptive and then click the toggle to activate it.
Conclusion
Your content library is only as useful as you make it. Remember to use it as a resource as you continue to produce content.
If you have any questions about how we did this, drop us a comment.


This was a fantastic article! Well written and very easy to follow. Great job!